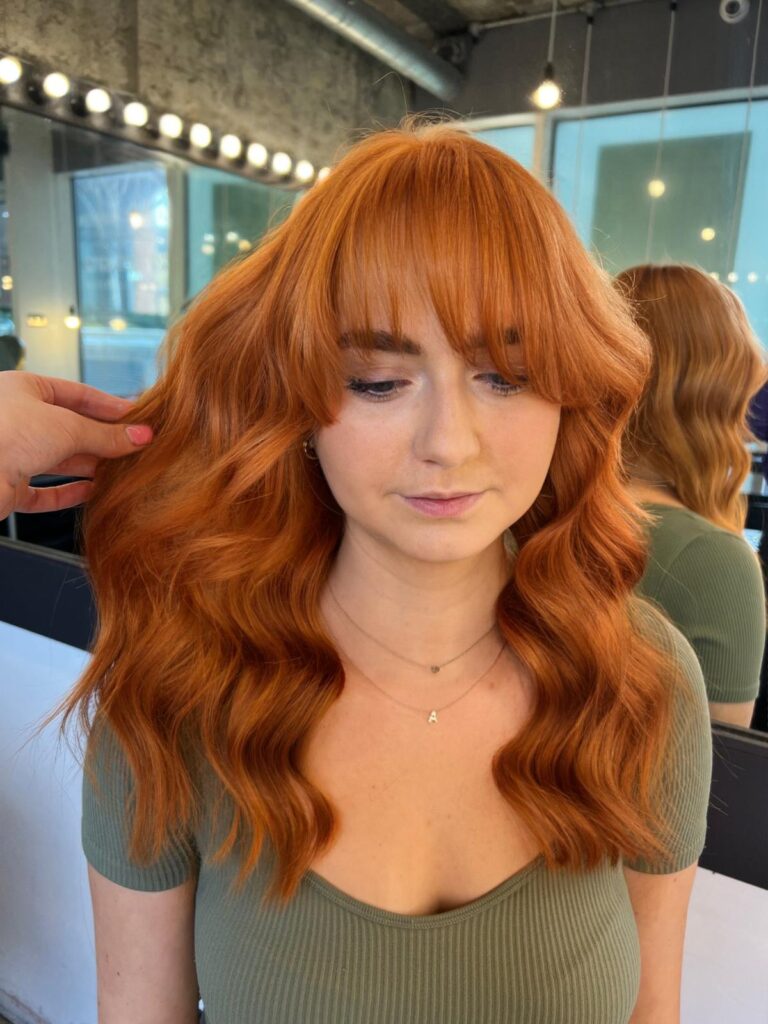
How To Cut A Fringe
Many of us, at some point, have stood in front of the mirror, scissors in hand, contemplating the idea of cutting our own fringe. It’s a style move that holds the promise of immediate transformation and personality-infused panache. Whether you’re aiming for Audrey Hepburn’s timeless glamour or Zooey Deschanel’s quirky charm, here’s a chic guide to help you master the art of how to cut a fringe.
Before You Snip
Before you take the plunge, there are a few important points to consider:
- Patience and Preparation: Cutting your own fringe is not a rush job. Ensure you have enough time and the right tools: sharp hairdressing scissors, a fine-tooth comb, and good lighting.
- Know Your Hair: Your hair type and texture play a significant role in how your fringe will look. Remember, curly hair will spring up once cut and appear shorter, while straight hair may lay flat and heavy.
- Less is More: It’s always better to cut less to begin with. You can always trim more if necessary, but you can’t undo a too-short fringe.
Step-by-Step Guide to Cutting a Fringe
With careful preparation, cutting your own fringe can be an empowering DIY beauty task. Here’s a simple step-by-step guide:
- Start with clean, dry hair. Your hair should be styled as you usually wear it.
- Section off the hair you want to turn into a fringe. A triangular section from the top of your head to the outer corners of each eyebrow works well.
- Clip the rest of your hair back to avoid accidental snips.
- Comb your selected section forward and decide on your length. Remember, it’s safer to start longer.
- Twist the section slightly and hold it between your fingers at the desired length.
- Cut the hair below your fingers, making sure to cut vertically (up into the hair) rather than straight across for a softer, natural look.
- Let your new fringe fall naturally and check for evenness. Make any necessary trims.
- Style as desired and voila! You have your homemade fringe.
Conclusion
Cutting your own fringe may seem daunting, but with the right preparation and steps, it can be a fun and satisfying DIY beauty project. It’s a great way to refresh your look without a complete style overhaul. So, if you’ve been contemplating a fringe addition, why not give it a go yourself? You might just discover a new skill and a stunning new look. Remember, every snip is a step towards a more confident, style-savvy you! If not, why not visit a Live True London hair salon to have your fringe cut.


